This post may contain affiliate links (Affiliate Disclosure). We may earn a commission from qualifying purchases.
If you’re a gardener, you probably view dandelions, chickweed, and purslane as the enemy. You pull them, toss them in the yard waste bin, and go about your day.
Stop! You’re throwing away free liquid gold.
As an engineer, I’m obsessed with efficiency—maximizing output while minimizing waste. That’s why this spring, I’ve stopped just “giving” weeds to the chickens and started brewing “Coop Tea.” It’s a simple, $0 hack that turns garden pests into a probiotic powerhouse for your flock.
The “Why”: It’s All About Bioavailability
While chickens love pecking at fresh weeds, they often stomp half of them into the mud before they can eat them. By “brewing” a fermented weed tea, you’re breaking down the tough cellulose and making the vitamins and minerals much easier for their systems to absorb. Plus, the fermentation process introduces beneficial bacteria (probiotics) that support gut health and stronger eggshells.
How to Brew “Coop Tea” (The Frugal Way)
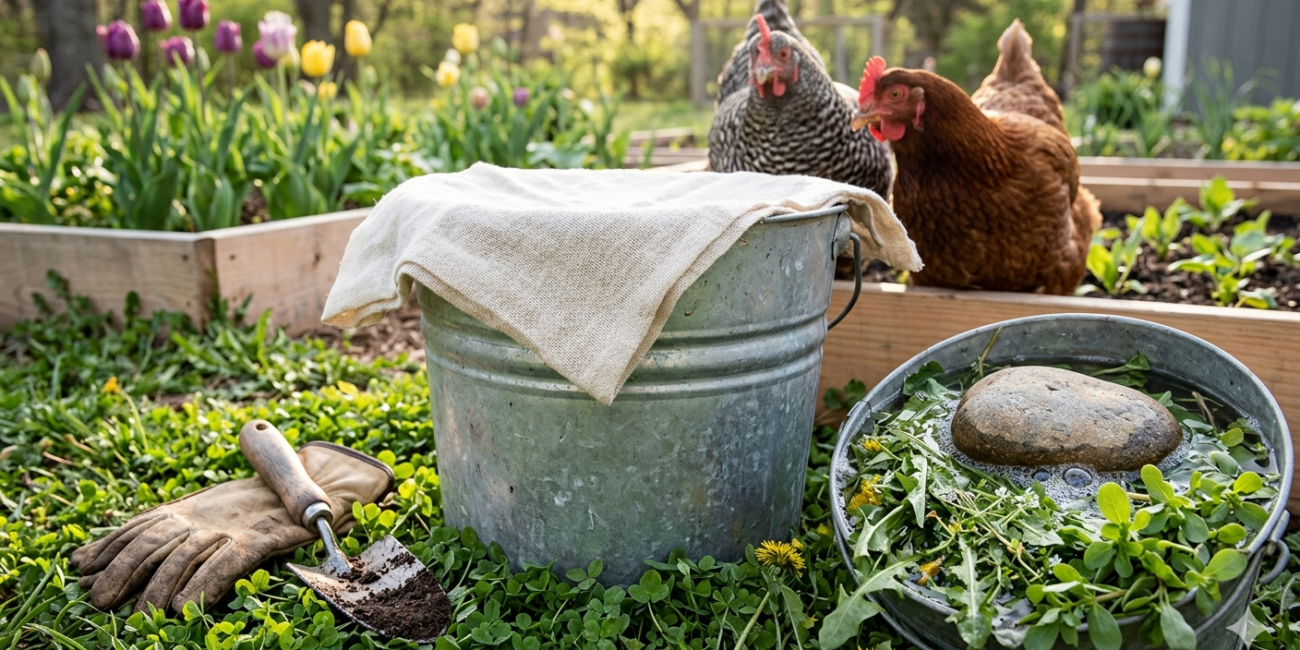
1. The Harvest Collect a bucket of “safe” weeds. Think dandelions (the whole plant!), clover, stinging nettle, and chickweed. Avoid anything you’ve sprayed with chemicals or plants known to be toxic to poultry (like nightshades).
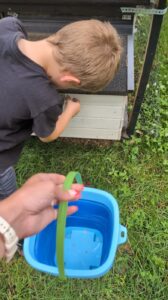
2. The Soak Place the weeds in a 5-gallon bucket and weigh them down with a clean brick or stone. Fill the bucket with dechlorinated water (rainwater is perfect for this!).
3. The Ferment Cover the bucket with a mesh screen or cheesecloth to keep out mosquitoes. Let it sit in a shady spot for 24–48 hours. You’ll know it’s working when you see tiny bubbles forming on the surface.
4. The Serving Strain the liquid and add a splash to their waterer, or use the “soaked” greens as a topping for their morning crumble.
3 Reasons This Is a Game Changer:
- Hydration with a Kick: In the humid Missouri spring, this keeps the girls hydrated while delivering a boost of Vitamin A and K.
- Zero Waste Homesteading: You’re taking a garden “problem” (weeds) and turning it into a “solution” (high-quality eggs).
- Deep Orange Yolks: The concentrated chlorophyll and beta-carotene in the fermented greens result in yolks that look like a sunset.
Brewing Hope Globally
At The Frugal Coop, we believe every small action can lead to big change. That’s why 5% of our commissions from your favorite homesteading tools and supplies go directly to Heifer International.
While we’re brewing tea for our 8 girls, we’re also helping families across the globe secure their futures through sustainable livestock gifts. It’s the ultimate “full circle” homesteading.
Frugal Fermenting Kit List
1. The Vessel: The Food-Grade 5-Gallon Bucket
Forget expensive ceramic crocks. A standard 5-gallon bucket is the workhorse of the frugal homestead.
- The Frugal Hack: Check with local bakeries or deli counters! They often give away frosting or pickle buckets for free. Just look for the “HDPE 2” recycling symbol on the bottom to ensure it is food-grade.
- Why it works: It’s lightweight, nearly indestructible, and easy to scrub clean between batches.
2. The Weight: The “Clean Stone” Method
To ferment properly, your solids (weeds or grains) must stay submerged under the “brine” (water) to prevent mold growth.
- The Frugal Hack: You don’t need glass fermentation weights. A large, smooth river stone is perfect.
- Pro-Tip: Boil the stone for 10 minutes before its first use to sterilize it. It provides the perfect mechanical pressure to keep your “tea” brewing safely.
3. The Cover: Breathable “Cheesecloth” Alternatives
Fermentation needs to “off-gas” (let CO2 escape) while keeping out fruit flies and dust.
- The Frugal Hack: Use a clean, thin flour sack towel or a piece of an old (but clean!) cotton T-shirt.
- The Seal: Secure it with a large rubber band or a piece of twine. This allows the brew to breathe without letting in unwanted pests.
4. The Liquid: The Rainwater Collection Barrel
Tap water often contains chlorine, which is designed to kill bacteria—exactly what we don’t want when we’re trying to grow beneficial probiotics.
- The Frugal Hack: Use a rain barrel or simply set a few buckets out during a Missouri spring shower. Rainwater is “soft,” chemical-free, and exactly what nature intended for your plants and poultry.
5. The Stirrer: The “Perch” Paint Stick
You’ll need to agitate your ferment once or twice a day to prevent stagnation.
- The Frugal Hack: A long, sturdy stick from the yard (de-barked) or a free wooden paint stirrer from the hardware store works perfectly.
- Why it works: No need to dirty your kitchen utensils or buy specialized “mash paddles.”